


Understanding Amazon Cognito Federated Identity Providers
Behind the scenes of Amazon Cognito federation with a SAML Identity Provider


Contributors
Sasha Tulchinskiy, Senior Solutions Architect, Deloitte
Tony Witherspoon, Principal, Deloitte
Why Federated Identity Providers?
There is a simple reason to look into federating Amazon Cognito User Pools with third-party Identity Providers (IdP). If your workload needs to be deployed across multiple Amazon Regions, then IdP Federation mitigates the regional nature of Cognito User Pools (as User Directories cannot cross Regional boundaries).
How it works together
Let's create a very simple setup to observe Cognito Federation in action

A user navigates to a Web site hosted behind an Amazon Application Load Balancer (ALB). The hosting platform of the Web site itself is not relevant, let's say it is hosted on an Amazon Elastic Container Services Fargate task
In absence of an authentication header, ALB redirects the user to Amazon Cognito Hosted UI.
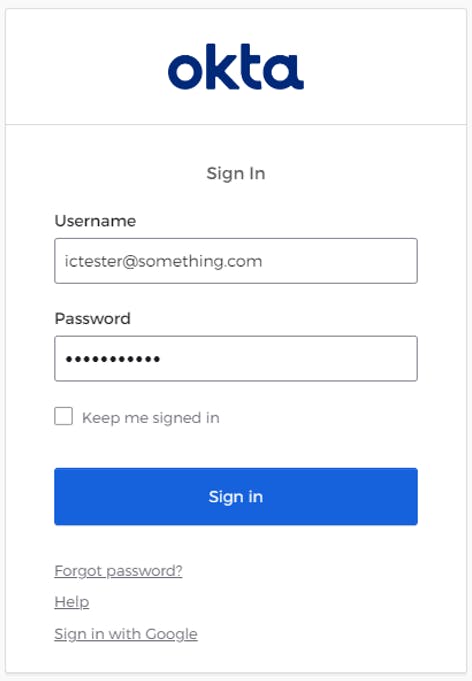
Cognito HostedUI redirects user to the corporate IdP login page (which will simulate with a free Okta Developer Edition instance)
Upon successful authentication, the user is redirected back to the Web site
ALB detects authentication headers and adds x-amzn-oidc-* headers to the request that is forwarded to a Fargate service. These headers are removed on replies from the Web server to user’s browser.
(Optionally) The application generates a new JWT that is passed to the user’s browser and re-sent back to the Web site on every request.
Step One -Get yourself an IdP
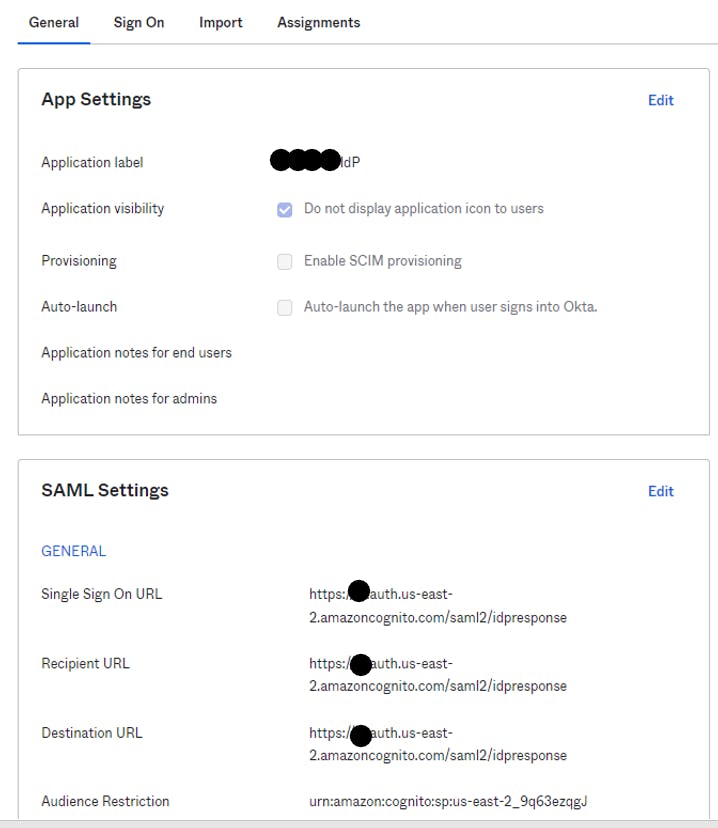
It is very easy to get a free IdP! Just sign up for the Okta Developer Edition instance and configure the following
Application Integration -> SAML 2.0.
You need to decide in advance if AWS-provided or custom DNS domain name will be assigned to your application and populate the "Single Sign-On URL" field with https://(FQDN-of-your-ALB)/saml2/idpresponse
You will need to know an Amazon Cognito User Pool ID to fill the "Audience URI (SP Entity ID)" field, but for now you can enter anything - just remember to replace it once Cognito is configured (more about it later)
Use "Email" for the Name ID format
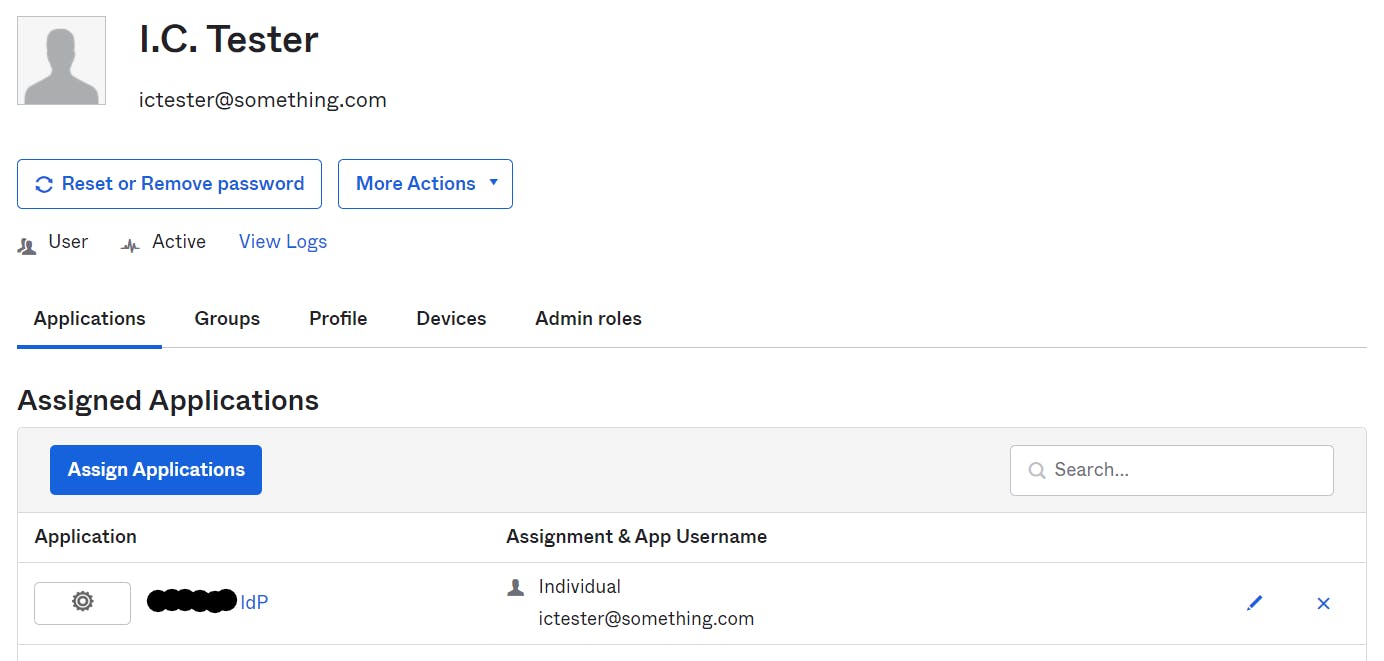
Sample User (Directory -> People -> Add person)
We do not have to use real email addresses for experimentation with Okta, just do not do it in the production environments!
Add a real or an arbitrary user with a password and an email address in any domain
Assign the user to the application you have just created
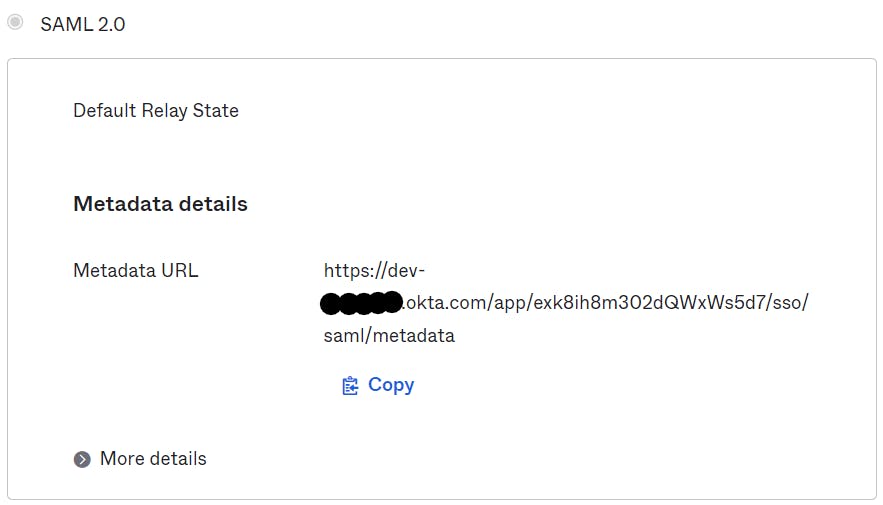
Before you proceed with Cognito configuration, download SSO Metadata XML file in the "Applications" -> "Sign On" section. It will be needed for setting up Cognito Federated IdP later.
Step Two - Configure Cognito
After the creation of an Amazon Cognito User Pool, a User Directory will be created - but we do not plan to use it in this lab. Instead, we will create an Application Client for integration with ALB, a Hosted UI and a Federated Identity Provider.
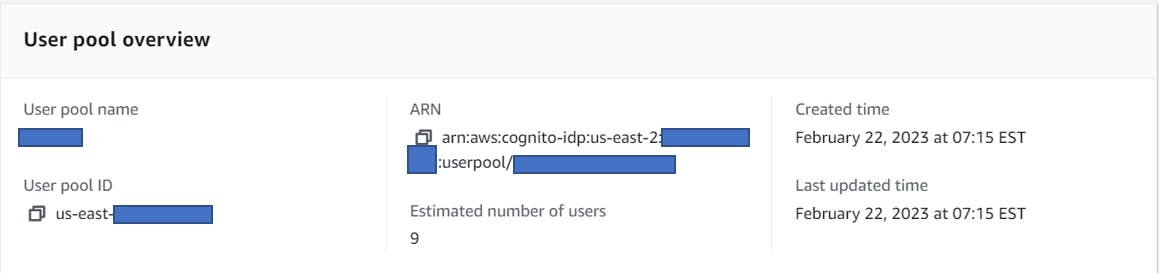
User Pool
Note the "User pool ID" and transfer it to Okta's Audience URI in the following format: "urn:amazon:cognito:sp:(User pool ID)"
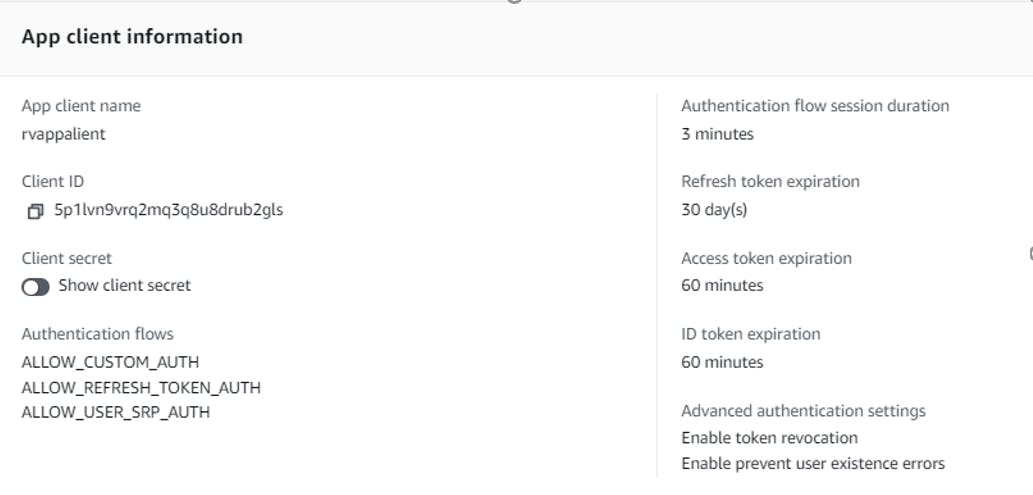
App Client
Generate a Client Secret for the App Client - but no need to write down the Client Secret, as ALB integration will automatically retrieve it when time comes.
Hosted UI
You won't need to keep "Cognito User Pool Directory" in the configuration, but we going to leave it in for now. The Callback URLs are pointing to your ALB - notice that they have both /saml2 and /oauth2 paths enabled.
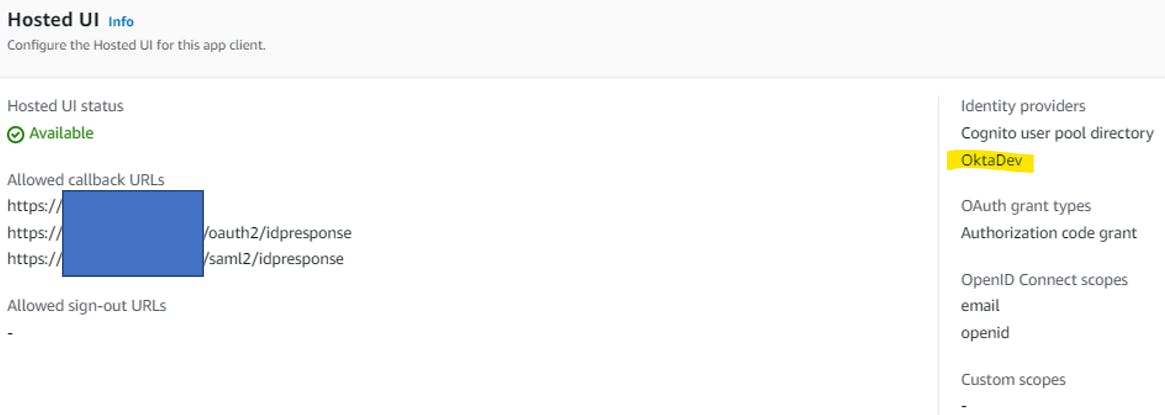
Federated IdP
Located "Federated identity provider sign-in" under "Sign-In Experience and create a new SAML provider, using the Okta Metadata XML file that you downloaded earlier.
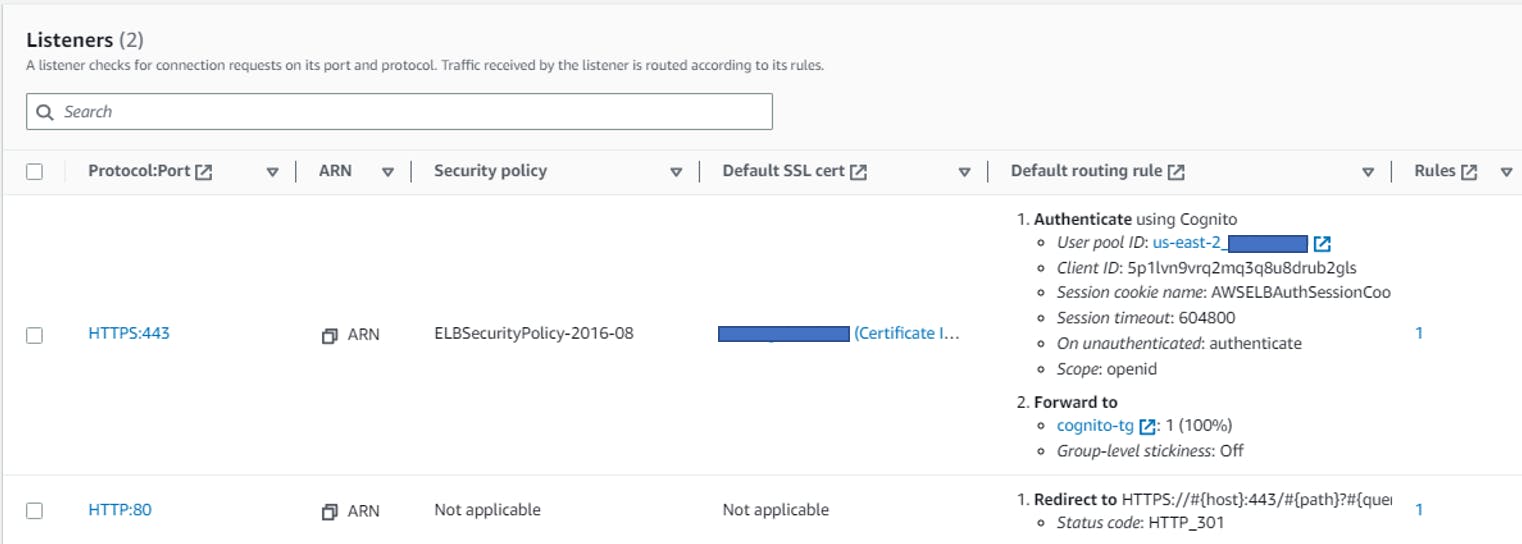
Step Three - Configure ALB
Assuming you have already configured an ALB for your Web application, an extra step will be required to enable ALB integration with Cognito - an "Authenticate" action with the Cognito User Pool / App Client, which are easily selected through AWS Console.
Step Four - Deploy a Workload
This step is out of scope for this exercise - feel free to use any code that can retrieve HTTP headers (specifically, x-amzn-oidc-accesstoken and x-amzn-oidc-data) and Base64 Decode the content.
Test
Upon navigating to the site URL, the user will be redirected to Cognito Hosted UI. If Federated IdP is the only allowed method, the screen below will not be displayed and the next redirect will take the user to an Okta login page

Finally, the user will arrive at the Web application screen. In our lab, we decided to just print out Base64-decoded content of x-amzn-oidc-data and x-amzn-oidc-accesstoken headers.

Note how Okta added an email, a prefix to the "username" and automatically created Cognito user group information - all can be used for making authorization decisions.
Conclusion
Even with very detailed documentation available for Cognito Federated Identity Providers, I found it rewarding to go through manual steps and observing federation flows in action. There are a few gotchas that came up out of the exercise
Use of placeholders on Okta side, which allows you to generate a Metadata XML file in advance and add it to AWS Infrastructure-as-Code automation repository. Now you can provision Cognito and Federated IdP integration in one pipeline execution, with a subsequent manual step of updating Okta configuration.
Creation of additional Cognito User groups for Federated users (with names deriving from the User pool ID and the name you gave to the Federated IdP)
Ability to skip the Hosted UI to be seen by users
The fact that x-amzn-oidc headers get removed by ALB when a response is sent to the user's browser (so it is not possible to observe them with Developer Tools)